By Andre Perunicic | June 22, 2017
Update: This article is regularly updated in order to accurately reflect improvements in Firefox’s headless browsing capabilities.
Note: Check out Running Selenium with Healdess Chrome if you’d rather use Google’s browser.
Using Selenium with Headless Firefox (on Windows)
Ever since Chrome implemented headless browsing support back in April, the other major browsers started following suit. In particular, Mozilla has since then expanded support for Firefox’s headless mode from Linux to its Windows and macOS builds, and fixed a number of bugs that might have been in the way of early adopters.
This is obviously pretty cool from the automated testing and and web scraping perspectives, so in this article I will describe how to remotely control Firefox’s new headless mode using Selenium Webdriver. I will explain things assuming a Windows development environment, but you should be able to follow along on other operating systems with only minor modifications.
Setup
First, download and install the latest version of Firefox or its Beta or Nightly releases if you are trying to get around a specific bug in the stable version.
You will also need geckodriver, the layer used for connecting Selenium and Firefox.
Download the latest version from its GitHub releases page and make sure that the version of Firefox you plan on using is higher than the minimum supported version.
Once downloaded, extract the package and place it somewhere in your Path.
For example, if you place geckodriver.exe into C:\bin\ you can ensure it is in your user’s Path by running
[Environment]::SetEnvironmentVariable("Path", "$env:Path;C:\bin\", "User")
from the powershell.
While you’re at it, make sure that python is also in your Path:
[Environment]::SetEnvironmentVariable("Path", "$env:Path;C:\Python27\;C:\Python27\Scripts\", "User")
(You can alternatively perform these steps through the GUI by searching for “Path” from the start menu and navigating through the “Edit environment variables for your account” settings panel.)
The required binaries should now be visible, so start a command prompt with cmd and install virtualenv:
pip install virtualenv
Then, create a new project and install Selenium
mkdir selenium-firefox
cd selenium-firefox

virtualenv env
env\Scripts\activate
pip install selenium
You’re ready to go!
Connecting Selenium to Headless Firefox
Before anything else let’s make sure headless Firefox works in the first place by running a script that grabs and prints this article’s title. The script in question is pretty simple:
import os
import sys

from selenium.webdriver.firefox.firefox_binary import FirefoxBinary
from selenium import webdriver

# Set the MOZ_HEADLESS environment variable which casues Firefox to start in headless mode.
os.environ['MOZ_HEADLESS'] = '1'

# Select your Firefox binary.
binary = FirefoxBinary('C:\\Program Files\\Mozilla Firefox\\firefox.exe', log_file=sys.stdout)

# Start selenium with the configured binary.
driver = webdriver.Firefox(firefox_binary=binary)

# Visit this webpage.
driver.get("https://intoli.com/blog/running-selenium-with-headless-firefox/")

# Grab the heading element from the response.
heading_element = driver.find_element_by_xpath('//*[@id="heading-breadcrumbs"]')

# Print the title in the terminal.
if heading_element:
    print(heading_element.get_property('textContent').strip())
else:
    print("Heading element not found!")

driver.quit()
Ideally, we could instruct Firefox to run in headless mode by including the -headless flag when running the binary with something like
binary.add_command_line_options('-headless')
However, on current versions of Firefox (up to and including Nightly 58.0a1) running on Windows 10 this flag doesn’t seem to work.
Luckily, we can achieve the same effect by setting the MOZ_HEADLESS environment variable either from the command line with set MOZ_HEADLESS=1 or from the python script itself as above.
You can run this script, assuming it’s saved as get-title.py, via
python get-title.py
and should eventually see the following in your console:
Running Selenium with Headless Firefox
That automatically launched geckodriver for you, and if your script somehow crashed you can kill any remaining processes with
taskkill /im firefox.exe /f
taskkill /im geckodriver.exe /f
Driving a Unit Test with Selenium and Headless Firefox
Now that we know headless mode indeed works, let’s write a less trivial script in the form of a unit test for this very site. In particular, we will test the mailing list subscription box that is shown to first-time readers of this article.
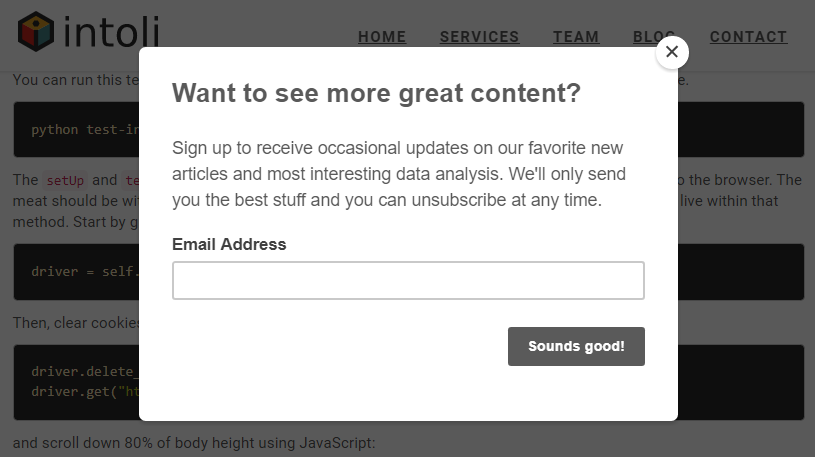
We try to be respectful towards our readers by only displaying this advertisement once. That is, if you sign up for the mailing list or dismiss the invitation box, you shouldn’t see it again here or on any other post. To make sure that all of this works as expected, our test will execute the following steps:
- Scroll far enough down a blog post for the subscription box to show up and try to grab it from the page.
- Visit this page again and make sure that the ad is not displayed at all this time.
We’ll be making use of the standard library’s unittest module to actually implement these steps.
Start by moving creating a placeholder unit test inside a script called test-intoli.py:
import os
import sys
import unittest

from selenium import webdriver
from selenium.webdriver.firefox.firefox_binary import FirefoxBinary

os.environ['MOZ_HEADLESS'] = '1'

class MailingListTest(unittest.TestCase):
    def setUp(self):
        binary = FirefoxBinary('C:\\Program Files\\Mozilla Firefox\\firefox.exe',
                               log_file=sys.stdout)
        self.driver = webdriver.Firefox(firefox_binary=binary)

    def test_two_visits(self):
        self.fail("There is nothing here!")

    def tearDown(self):
        self.driver.quit()

if __name__ == '__main__':
    unittest.main()
You can run this test with the following command at any time, thanks to the last two lines in the file.
python test-intoli.py
The setUp and tearDown methods are self-explanatory, and deal with managing the connection to the browser.
The meat should be within the test_two_visits method so let’s slowly build it up.
All the code below should live within the test_two_visits method of MailingListTest.
Start by giving self.driver a convenient local reference.
driver = self.driver
Then, clear cookies to ensure a clean start and then head over to the Email Spy post
driver.delete_all_cookies()
driver.get("http://localhost:1313/blog/running-selenium-with-headless-firefox")
and scroll down 80% of body height using JavaScript:
driver.execute_script("window.scrollTo(0, document.body.scrollHeight*0.8);")
At this point we start polling our element until it’s found for at most 10 seconds. This is done by instructing the driver to “implicitly wait.” If the element is not obtained after 10 seconds the driver raises an exception and the test fails.
driver.implicitly_wait(10)
try:
    driver.find_element_by_id("PopupSignupForm_0")
except:
    self.fail("Could not find element for 10s the first time. :(")
else:
    print("Found element the first time! :)")
Running the test at this point should show that we grabbed the element successfully.
Next we visit the page again and only fail if there is no exception from get_element_by_id:
driver.get("http://localhost:1313/blog/running-selenium-with-headless-firefox")
driver.execute_script("window.scrollTo(0, document.body.scrollHeight*0.8);")
try:
    driver.find_element_by_id("PopupSignupForm_0")
except:
    print("Did *not* find element the second time! :)")
else:
    self.fail("Found element the second time! :(")
Running the test with python test-intoli.py finally produces the desired result:
> python test-intoli.py
INFO:MailingListTest.test_two_visits:Found element the first time! :)
INFO:MailingListTest.test_two_visits:Did *not* find element the second time! :)
.
----------------------------------------------------------------------
Ran 1 test in 16.724s

OK
Check out the complete example script.
And that’s a wrap. We covered the installation steps to get started and how to use Selenium WebDriver to launch and control headless Firefox in Python. This simple website testing scenario just scratches the surface of what’s possible, of course, but I hope it was enough to get you started in developing your own scripts.
We frequently blog about web scraping, headless browsing, and Selenium here at Intoli. You can stay tuned by signing up for our mailing list! Also, if you need some help setting up a headless web scraping infrastructure or any other kind of web data sourcing, don’t hesitate to get in touch.
Suggested Articles
If you enjoyed this article, then you might also enjoy these related ones.
Breaking Out of the Chrome/WebExtension Sandbox
A short guide to breaking out of the WebExtension content script sandbox.

No API Is the Best API — The elegant power of Power Assert
A look at what makes power-assert our favorite JavaScript assertion library, and an interview with the project's author.

Recreating Python's Slice Syntax in JavaScript Using ES6 Proxies
A gentle introduction to JavaScript proxies where we use them to recreate Python's extended slice syntax.
Comments